

Set Up a Multisig on Horizen
Multi-signature wallets require multiple private key holders to approve a transaction before it can be executed. They're the standard for treasury management, protocol upgrades, and any onchain operation where a single point of failure is unacceptable.
On Horizen, multisig is provided through Den - a self-custodial multisig interface built on top of Safe contracts (formerly Gnosis Safe), the most battle-tested asset management infrastructure in the EVM ecosystem. Den adds workflow tooling: transaction simulation, batching, and team management on top of Safe's cryptographic guarantees.
What You're Setting Up
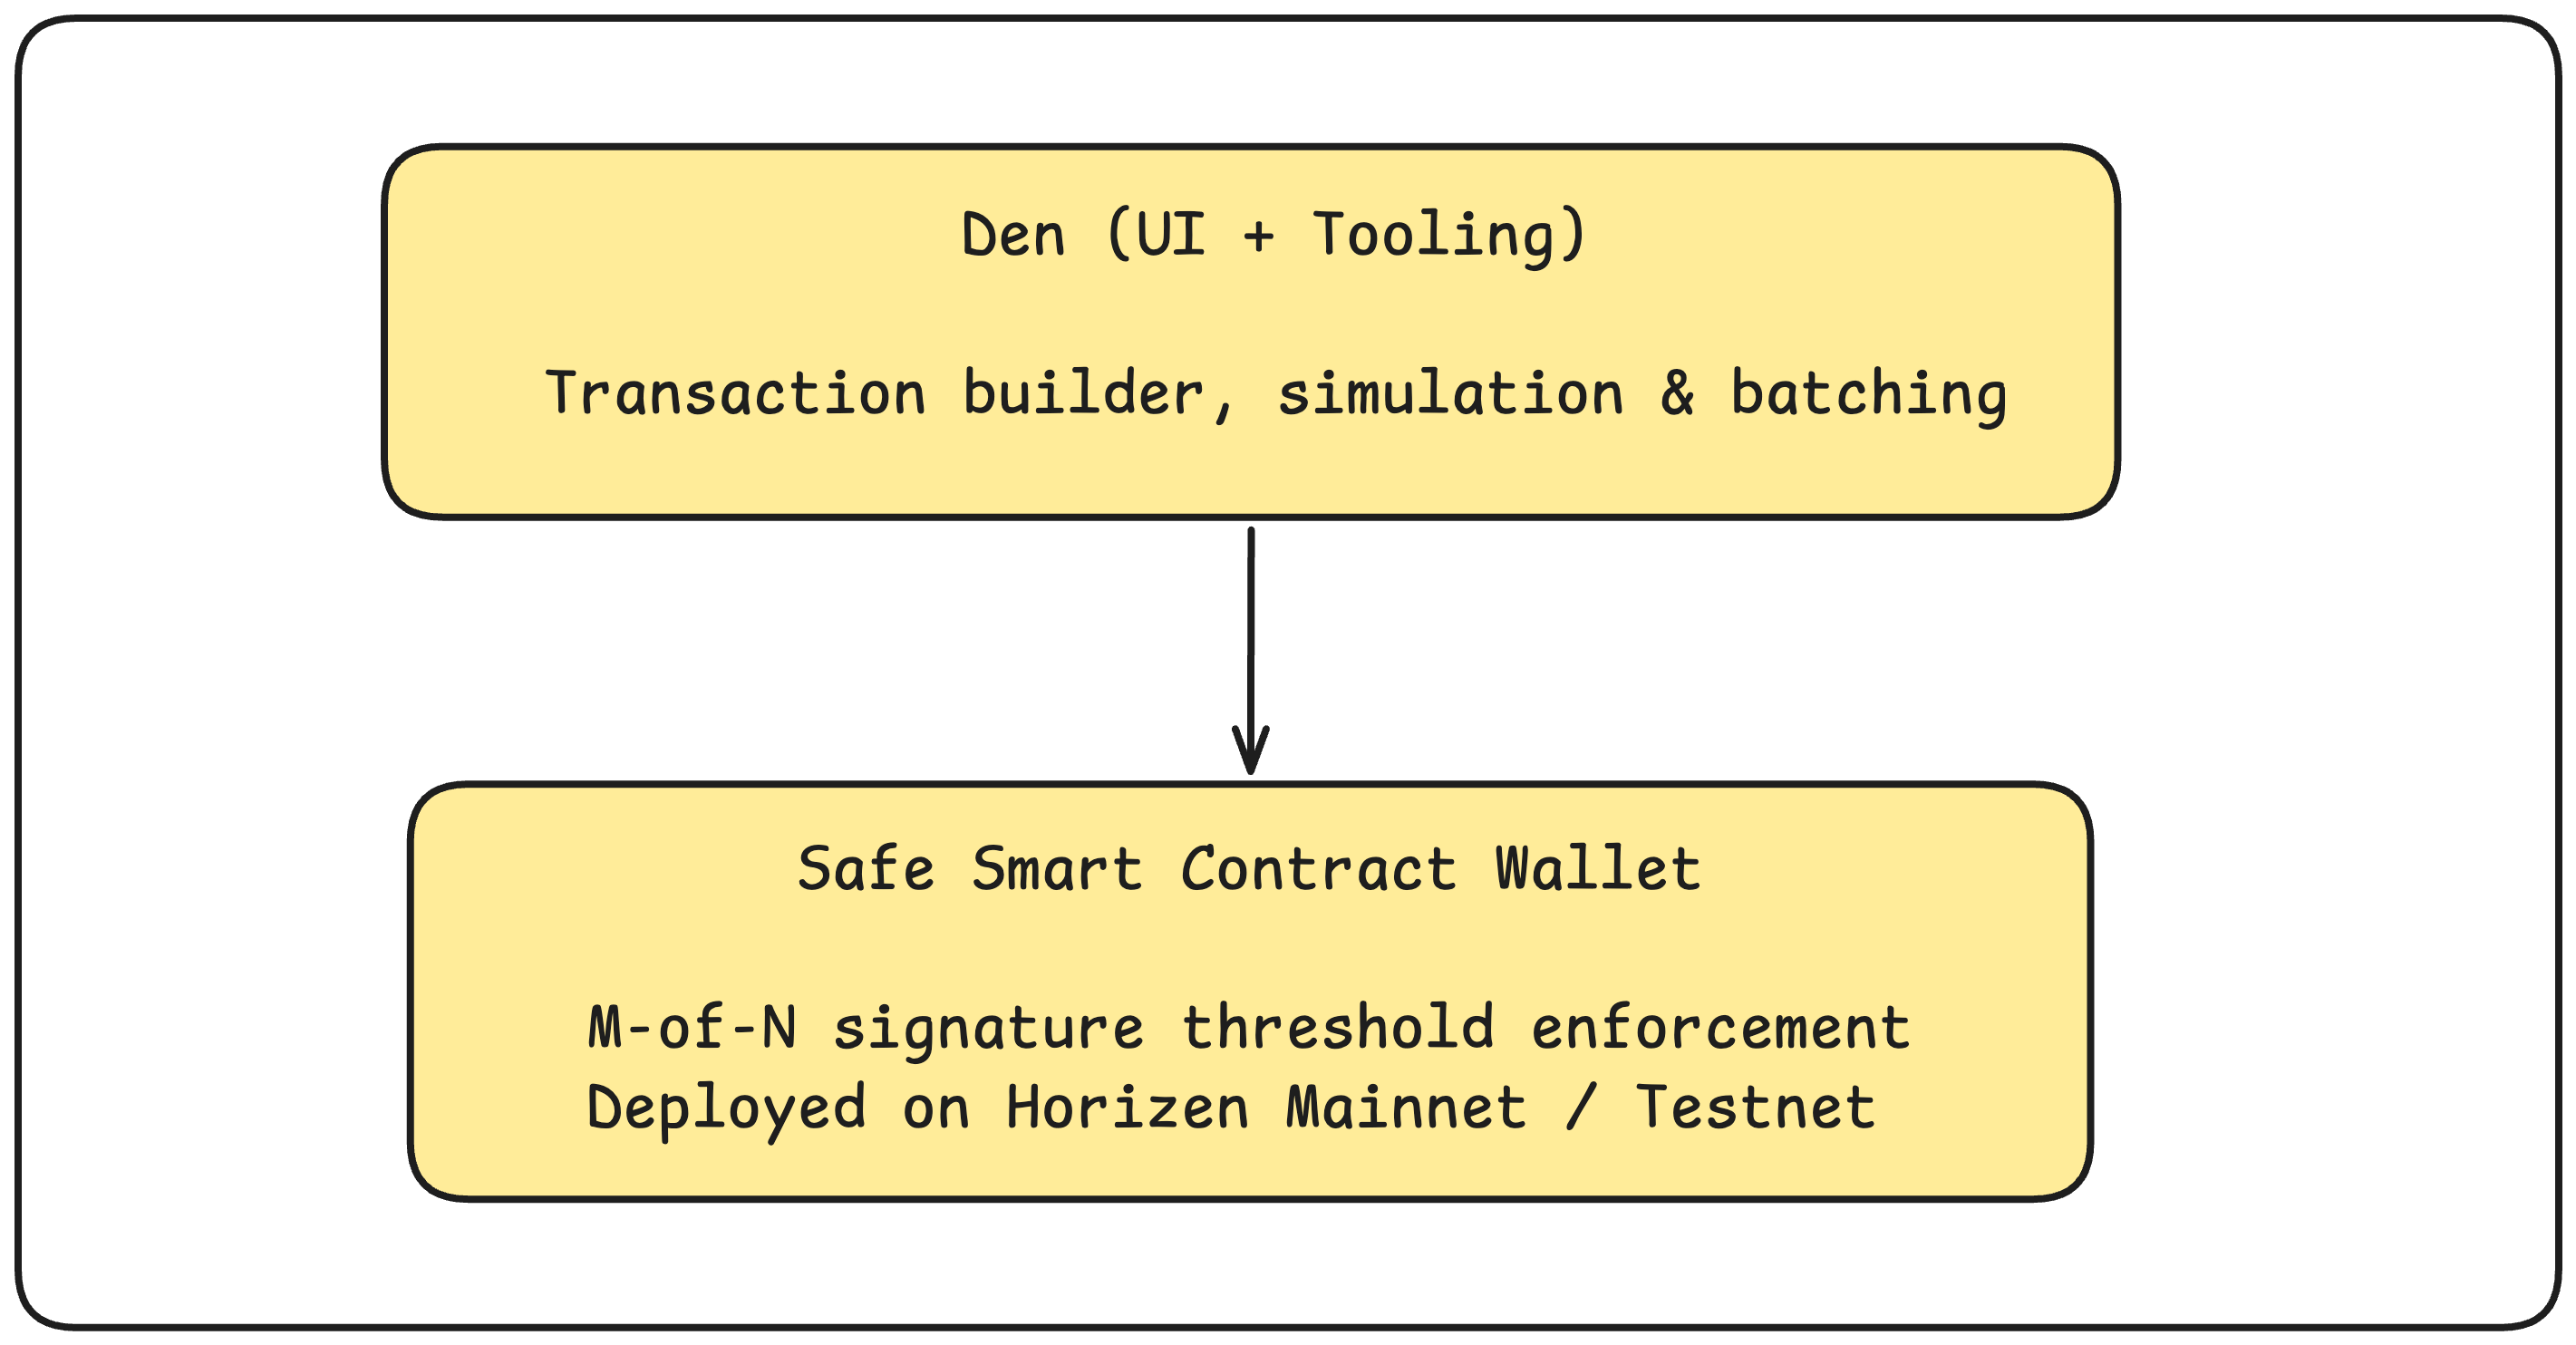
A Safe wallet is a smart contract, not an EOA. It lives on-chain at a deterministic address, holds assets, and executes transactions only when the required number of signers have approved.
Prerequisites
- At minimum 2 wallet addresses to act as signers (MetaMask, Ledger, hardware wallet, etc.)
- Each signer needs a small amount of ETH on Horizen for gas
- A browser with a Web3 wallet extension (MetaMask recommended)
Step 1: Add Horizen to Your Wallet
Before connecting to Den, add Horizen to your wallet. Follow the steps on the relevant network page:
Step 2: Open Den and Connect
Navigate to the Den dashboard for Horizen and connect your wallet. Make sure your wallet is set to the correct Horizen network before connecting.
Den will display your connected address and let you switch between your existing Safes or create a new one.
Step 3: Create a New Safe
Click New Safe and walk through the creation wizard.
Choose Owners
Add the wallet addresses of all intended signers. Each address you add is called an owner. Owners don't need to be connected during setup - you only need their addresses.
Owner 1: 0xAlice...   (your own wallet, the deployer)
Owner 2: 0xBob...     (teammate)
Owner 3: 0xCarol...   (teammate or hardware wallet)
Best practices for owner selection:
- Use hardware wallets (Ledger, Trezor) for high-value safes
- Never reuse a hot wallet that's also used for other operations
- Consider adding a cold storage address as one owner for disaster recovery
Set the Threshold
The threshold (M) determines how many of the N owners must sign before a transaction executes.
| Scenario | Owners (N) | Threshold (M) | Rationale |
|---|---|---|---|
| Small team / startup | 3 | 2 | Tolerates 1 key loss; fast approvals |
| Protocol treasury | 5 | 3 | Tolerates 2 key losses; balanced security |
| High-value protocol | 7 | 5 | High security; slow but robust |
A 1-of-N setup provides no additional security over a single-signer wallet. A threshold of N-of-N means any single key loss permanently locks funds. Neither is recommended for production.
Review and Deploy
Den shows you the final configuration. Deploying the Safe is an on-chain transaction - you pay a one-time gas fee. The transaction creates a new Safe smart contract at a deterministic address on Horizen.
Once confirmed, you'll see your Safe address in Den:
Safe address: 0xYourSafe... (on Horizen, Chain ID 26514)
Save this address. It's where you'll send assets.
Step 4: Fund the Safe
Send ETH (or any ERC-20 tokens) to your Safe address. The Safe holds funds like any other address - you can verify the balance on the Horizen Explorer.
For testnet, use the Horizen Testnet Faucet to fund your signers' wallets, then send ETH to your Safe.
Step 5: Create Your First Transaction
In Den, navigate to your Safe and click New Transaction.
Den supports three transaction types:
Send Assets
Transfer ETH or ERC-20 tokens to an address. Fill in:
- To: destination address
- Token: ETH or select an ERC-20
- Amount: value to transfer
Contract Interaction
Call any smart contract function. You'll need the contract address and ABI (or Den can decode verified contracts automatically).
Example: calling approve() on a token contract:
- Contract:
0xTokenAddress - Function:
approve(address spender, uint256 amount) - Args: your spender address, amount in wei
Raw Transaction
Paste raw calldata for custom interactions. Useful for interacting with unverified contracts or complex encoded payloads.
Step 6: Simulate the Transaction
Before collecting signatures, simulate the transaction. Den executes the transaction against a fork of the current chain state and reports:
- Whether the transaction would succeed or revert
- State changes (balance diffs, storage mutations)
- Estimated gas usage
- Any events emitted
Simulation catches errors before signers spend time signing a broken transaction. Always simulate before circulating for signatures.
Step 7: Collect Signatures
Once the transaction is created, Den generates a shareable link. Distribute this to the other owners.
Each owner:
- Opens Den and connects their wallet
- Navigates to the pending transaction
- Reviews the transaction details (to address, calldata, value)
- Signs with their wallet (this is an off-chain signature)
Signatures are aggregated by Den until the threshold is met.
Security reminder: each owner should independently verify the transaction details before signing. Never sign based solely on a teammate's summary. Check the raw calldata yourself.
Step 8: Execute the Transaction
Once M signatures have been collected, any owner (or any funded address) can execute the transaction. Click Execute in Den. This bundles all signatures into a single on-chain transaction:
execTransaction(
    address to,
    uint256 value,
    bytes calldata data,
    uint8 operation,
    ...signatures
)
The Safe contract verifies that the signatures are valid and that the required threshold is met, then executes the inner call atomically.
Step 9: Batch Multiple Transactions
Batching lets you execute multiple operations in a single on-chain transaction, saving gas and ensuring atomicity (all operations succeed or all revert together).
In Den, click New Batch and add multiple transaction steps:
Batch: "Monthly Treasury Operations"
  Step 1: Approve 10,000 USDC to DeFi protocol
  Step 2: Deposit 10,000 USDC into DeFi protocol
  Step 3: Send 1 ETH to development fund
Den encodes these as a multiSend call through Safe's MultiSendCallOnly contract - each step executes sequentially within a single transaction.
Importing an Existing Safe
If you already have a Safe deployed (e.g., from a previous deployment or another network), you can import it into Den:
- In Den, click Load Existing Safe
- Enter your Safe address
- Verify the owner list and threshold match your expectations
Safe Contract Addresses on Horizen
Safe contracts are deployed at canonical addresses across EVM chains. Verify the current Safe deployment on Horizen at the Safe deployments repository or through the Horizen Explorer.
The key contracts:
- SafeProxyFactory - deploys new Safe instances
- Safe (Singleton) - the implementation logic all proxies point to
- MultiSendCallOnly - used for batched transactions
- CompatibilityFallbackHandler - ERC-1271 signature support
Security Best Practices
Key management
- Store at least one signing key on a hardware wallet
- Never store private keys in plaintext or in version control
- Use separate keys for your Safe owner role vs. your development hot wallet
Threshold hygiene
- Maintain a threshold that can tolerate key loss. With 3 owners and a 2-of-3 threshold, you can recover if one key is permanently lost - you just rotate it out using the remaining 2
- If a signer leaves your team, rotate them out of the Safe immediately using a transaction approved by the remaining signers
Transaction review
- Always decode raw calldata before signing. Tools like Swiss Knife or the Horizen Explorer's calldata decoder can help
- Check the
toaddress carefully - address poisoning attacks use addresses with similar prefixes/suffixes to your intended destination
Rotation procedure Adding or removing an owner is itself a Safe transaction that requires M-of-N approval:
- Create a transaction calling
addOwnerWithThreshold(newOwner, newThreshold)orremoveOwner(prevOwner, owner, newThreshold) - Collect required signatures
- Execute on-chain
Advanced: Interacting with the Safe Contract Directly
For scripted or programmatic access, use the Safe SDK:
import Safe, { EthersAdapter } from "@safe-global/protocol-kit";
import { ethers } from "ethers";

const provider = new ethers.JsonRpcProvider("https://horizen.calderachain.xyz/http");
const signer   = new ethers.Wallet(process.env.PRIVATE_KEY!, provider);

const ethAdapter = new EthersAdapter({ ethers, signerOrProvider: signer });

const safe = await Safe.create({
  ethAdapter,
  safeAddress: "0xYourSafeAddress",
});

// Build a transaction
const tx = await safe.createTransaction({
  transactions: [
    {
      to: "0xRecipient",
      value: ethers.parseEther("0.1").toString(),
      data: "0x",
    },
  ],
});

// Sign it with the current signer
const signedTx = await safe.signTransaction(tx);

// Execute (if threshold is already met after this signature)
const result = await safe.executeTransaction(signedTx);
console.log("Executed:", result.hash);
The Safe Protocol Kit handles nonce management, signature aggregation, and gas estimation. Use it when building automation or CI/CD pipelines that interact with your Safe.